

Woodworking Patterns For the Home Handy Man
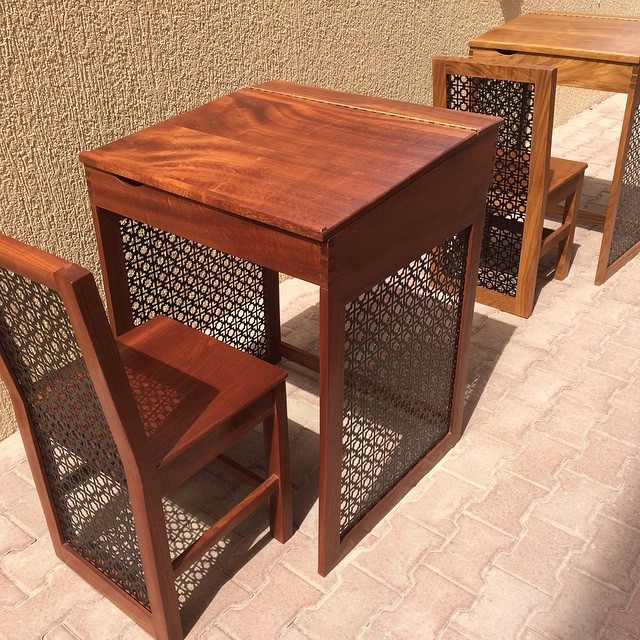
No question you are here because you are browsing for some woodworking patterns weather it be for constructing a shed, a bed, a coffee table, a chair or a mail box. It is crucial that you are clear regarding where you need to start, what products and devices you will certainly require and having a solid strategy of attack so you don’t end up losing your time (and more than likely a few of your close friends as well) as well as definitely a few of your difficult generated income.
The web has actually reinvented the means we have the ability to find out woodworking methods and also the finest aspect of on the internet tuition when it involves woodworking patterns is having all the strategies, styles and information you need, when you require it, having the ability to learn at your very own rate and adhering to a time table that finest fits you. By making use of online resources when you intend to learn woodworking patterns, when you understand a couple of essentials, points will naturally start to form in a short amount of time. There is a lot to be stated for being able to come close to a straightforward task in a practical fashion as opposed to not rather recognizing and turning it right into a nightmare
When beginning on a woodworking task, eventually you recognize the importance of having an excellent set of plans in order to help you. This then leads to the find out at home woodworker having the ability to see consistent as well as quantifiable outcomes, learning the needed abilities all at their own speed. When attempting to discover woodworking patterns in the offline-analogue-old made way you can most definitely go old-fashioned as well as obtain some woodworking job overviews and books from your local book shop, nonetheless just for a few mins take into consideration the option. It may take you years to find out some of the most fundamental essentials, and also as well as trying to find any type of official instruction in relation to woodworking is not a simple thing to come by in addition to somewhat expensive. Having all the learning sources offered within your reaches permits you to work with tasks at your very own pace, in your personal time and to be able to highlight your very own full woodworking capacity. Maintain it in mind that woodworking is supposed to be pleasurable, so why invest all your time racking your brain for suggestions? Pick something you like and begin. The building procedure is the most effective component.
Many thanks to woodworking patterns as well as strategies available online, you could obtain a clear image of the building and construction process and match it up with any job you are taking into consideration making. These plans usually have a checklist of devices you will certainly require, list of materials and also lumber sizes as well as also an action by step direction of the setting up and also completing of the timber job job. So the minute you could consider a suggestion you can obtain excited and simply do it!

Top Tips of the Trade - As well as Where to Obtain Free Woodworking Program
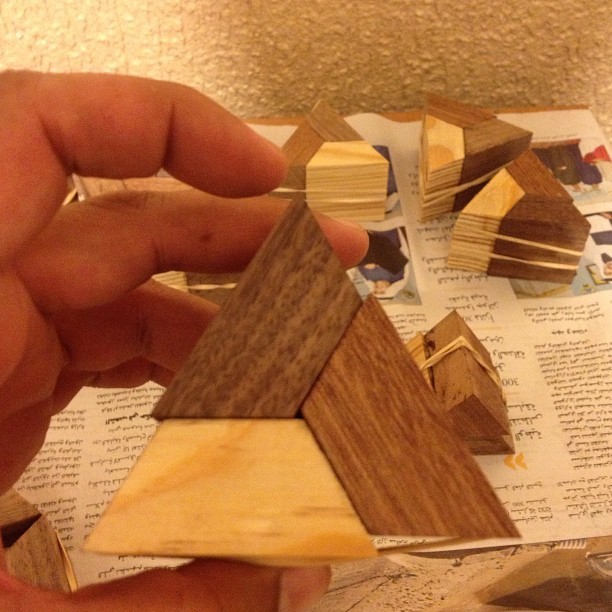
Woodworking can be defined as any task or job where an individual makes numerous products from timber. This can include making wood sculptures or constructing wooden furniture. Some people could find this sort of task restorative, while others see this as a means to make money. Those who wish to begin doing this activity must recognize specific suggestions that could help them in any of their woodwork jobs.
The most essential tip that all woodworkers ought to keep in mind is that security always comes initially. One should carefully deal with the devices as well as use protective handwear covers, a face mask, and also safety glasses. It is ideal to maintain a device box close by where one could store unused tools, as well as one must remove any kind of wires on the floor that might trigger them to journey. They must turn off the round saw whenever they typically aren’t reducing pieces of wood to avoid any kind of crashes. Another security tip is that one should never function in the dark as well as inside a poorly aerated location.
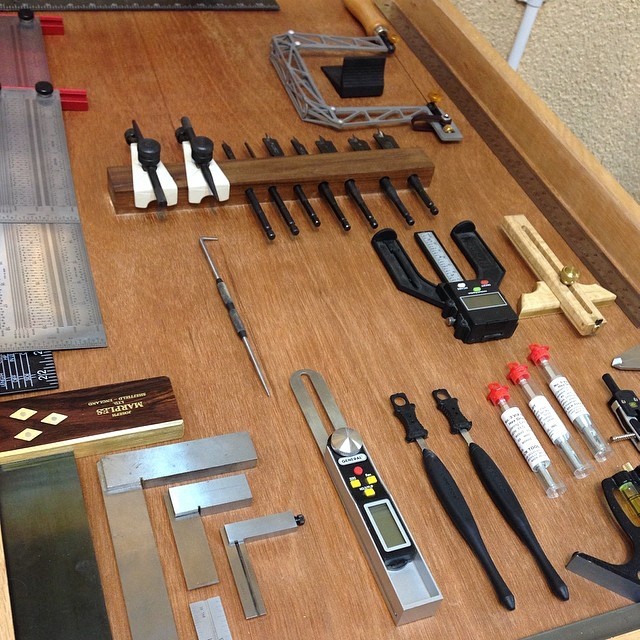
When preparing to apply coatings and also spots, one must keep in mind to stir, not shake, the liquid. Drinking finishes and discolorations is insufficient to mix all the ingredients properly, and also it likewise includes air bubbles. An additional idea is that woodworkers should familiarize themselves with the various tools, such as the sculpt and handsaws, because this allows them recognize the best ways to utilize these products effectively. Those that intend on becoming specialist woodworkers would certainly require to get larger tools, such as drum sanders, drill presses, panel saws, mortisers, and shapers.
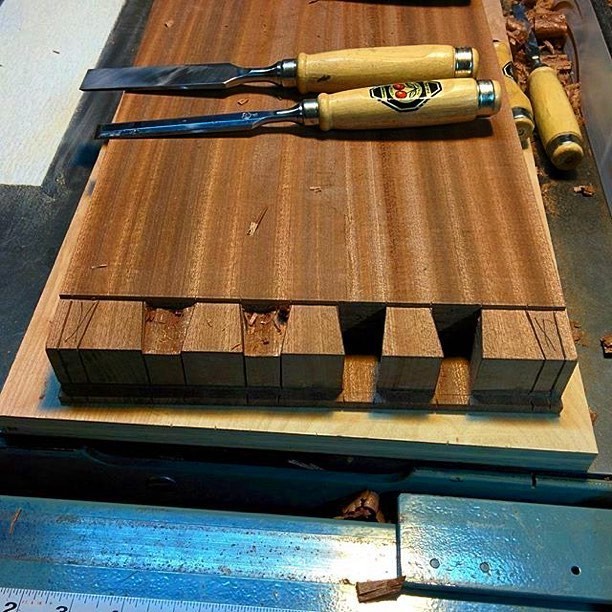
Woodworkers could also review concerning numerous strategies as well as abilities that they could utilize in order to help them end up tasks faster. They can find out just how to flex timber effectively as well as how you can distinguish the different kinds of joints. Some other woodwork strategies consist of using furniture, tinting the timber, and preserving power as well as hand devices. Also the most specialist woodworkers could discover a new strategy or skill every day. There are hundreds of woodwork sites where they could check out various tutorials and also examine the prices of the numerous materials as well as devices.
One also should get woodworking plans, which function as an overview to various tasks. Free woodworking plans could be downloaded and install from the Net; there are hundreds of sites that offer copies of these building strategies. Free woodworking plans could additionally be found in magazines and also books. These strategies as well as patterns are usually for diy tasks, such as constructing a wood playhouse or carving a wooden Nativity scene.
Those that are just beginning their very first woodwork job must know the different products and also devices that they would certainly need. These devices can conveniently be discovered in the local hardware shop; one can prepare a checklist of the points that they should acquire and also examine the prices the next time they check out the hardware shop. Free woodworking plans normally come with a listing of the needed products.

Woodworking Technique - Preparing the Surface
Dinged up surface area fixing method
One means to take care of a damage in timber is to swell smashed timber fibers to their initial form. Transform a home iron to its highest possible setting as well as permit it to warm up. At the same time, saturate a tidy towel in water, fold it over a few times and position it on the damage. Press the pointer of the iron versus the cloth over the damage, holding it in place until the cloth steams. The vapor will certainly swell the timber fibers, raising out the damage. Include water to the cloth as required and also stay clear of leaving the iron on the fabric for as well long, which could burn the wood.
Gluing a side splinter
A small splinter on the side of a work-piece could be glued in position, as long as it is still affixed. Clamp the supply in a vise as well as squeeze some adhesive right into the gap in between the splinter as well as the wood, After that press the splinter right into place as well as safeguard it with concealing tape. When the adhesive is dry, remove the tape as well as sand the repair service flush with nearby surfaces.
Choose a filler that is suitable with the ingredients and also shade of the timber surface you will certainly be using. Use a putty knife to work the filler into the opening as well as overfill it a little, then scrape off the excess to level it with the surrounding surface area. Prevent spreading out filler onto intact areas, where it may cause uneven coloring if a discolor is used.
Thawing shellac stick to weapon
Select a shellac stick of the proper shade and established a soldering gun on low. Holding the stick over the opening, thaw it with the suggestion of the gun. Drip enough of the item to fill up the opening. While the filler is still soft, use a knife or a wood carve to press it evenly into the broken area. Work carefully to stay clear of tainting the bordering location with the blade or sculpt blade. Allow the filler to cool down. To level the filler with the surrounding surface area, soak the base of a really felt block with a percentage of business progressing service and also lightly massage the block backward and forward throughout the fixing. The slow-moving- acting solvent in the solution liquifies excess filler without damaging the wood.
How you can use shellac stick with a burn-in knife
Light the alcohol lantern and hold the burn-in blade over the wick for a number of seconds. With the shellac stick over the broken location, press the blade versus the stick so that adequate filler thaws and drips right into the hole. Reheat the blade as required up until the opening is filled. Utilize the knife to spread the filler uniformly. Finish the repair with leveling service and also a felt block.
A glue weapon offers a basic choice to a burn-in blade or soldering gun for fixing damage with a shellac stick. Make use of a sharp blade to whittle a shellac stick to ensure that it fits in the barrel of your adhesive weapon. To thaw the filler, shoot as you would to apply adhesive, after that trickle the melted shellac stick onto the broken area. Press the filler right into the opening with a knife or timber sculpt, and degree it - using a felt block and also leveling remedy.
How you can spot a larger hole
An effective way to mend a larger hole on a wood surface area is to reduce a patch and a matching mortise over the hole, after that adhesive the patch in location. Making use of a cut-off scrap from the work surface, or a piece of veneer with similar grain and also shade, cut a spot that is a little larger than the opening. Give the patch a diamond shape, much less noticeable compared to a square or rectangular spot after the finish is used. Make use of a wood chisel to bevel the edges of the lower face of the patch, after that sand both faces. Place the spot over the opening, straightening its grain with the surface area grain, as well as mark its outline with a sharp pencil.
Sculpting the mortise
Protect the workpiece with a clamp if essential. Select a wood carve slightly narrower compared to the sides of the mortise to cut along the outline. Tilt the woodworking device with its bevel confronting generate an angle representing that on the edges of the patch Get rid of the continuing to be waste from the overview with the carve bevel facing down. Regularly examination - fit the spot in the mortise until the mortise is slightly shallower than the patch is thick.
Gluing down the spot
Spread out some adhesive in the mortise as well as set the patch in position. Lay an item of wax paper over the spot, after that position a wood block ahead. (The paper will maintain the patch from adhering to the block.) If the spot is located where you can not clamp it directly, established a board atop the block as well as clamp the ends to concentrate the securing pressure on the spot. Work quickly to avoid the spot from absorbing moisture from the glue and swelling.

A damaged corner is ideal fixed with a patch. If the edges of the break are ragged or sharp, utilize a timber chisel to cut a superficial, oval-shaped mortise with smooth edges around the damage Hold the sculpt with the bevel encountering down and also collaborate with the grain of the wood.
Cut a spot that approximately fits the mortise, then form it with timber sandpaper or a chisel until it fits perfectly. Spread some glue in the mortise and also set the patch in placement, straightening its grain with that said of the work surface. Use concealing tape to maintain the spot in location while the adhesive dries. To level the spot with the surrounding surfaces, pare away the excess with the carve. Cut with the grain, keeping the sculpt bevel side up.
Original article and pictures take https://diywoodfans.tumblr.com/?p=9690426373147 site
Комментариев нет:
Отправить комментарий